So I guess you have got here in one of three ways:
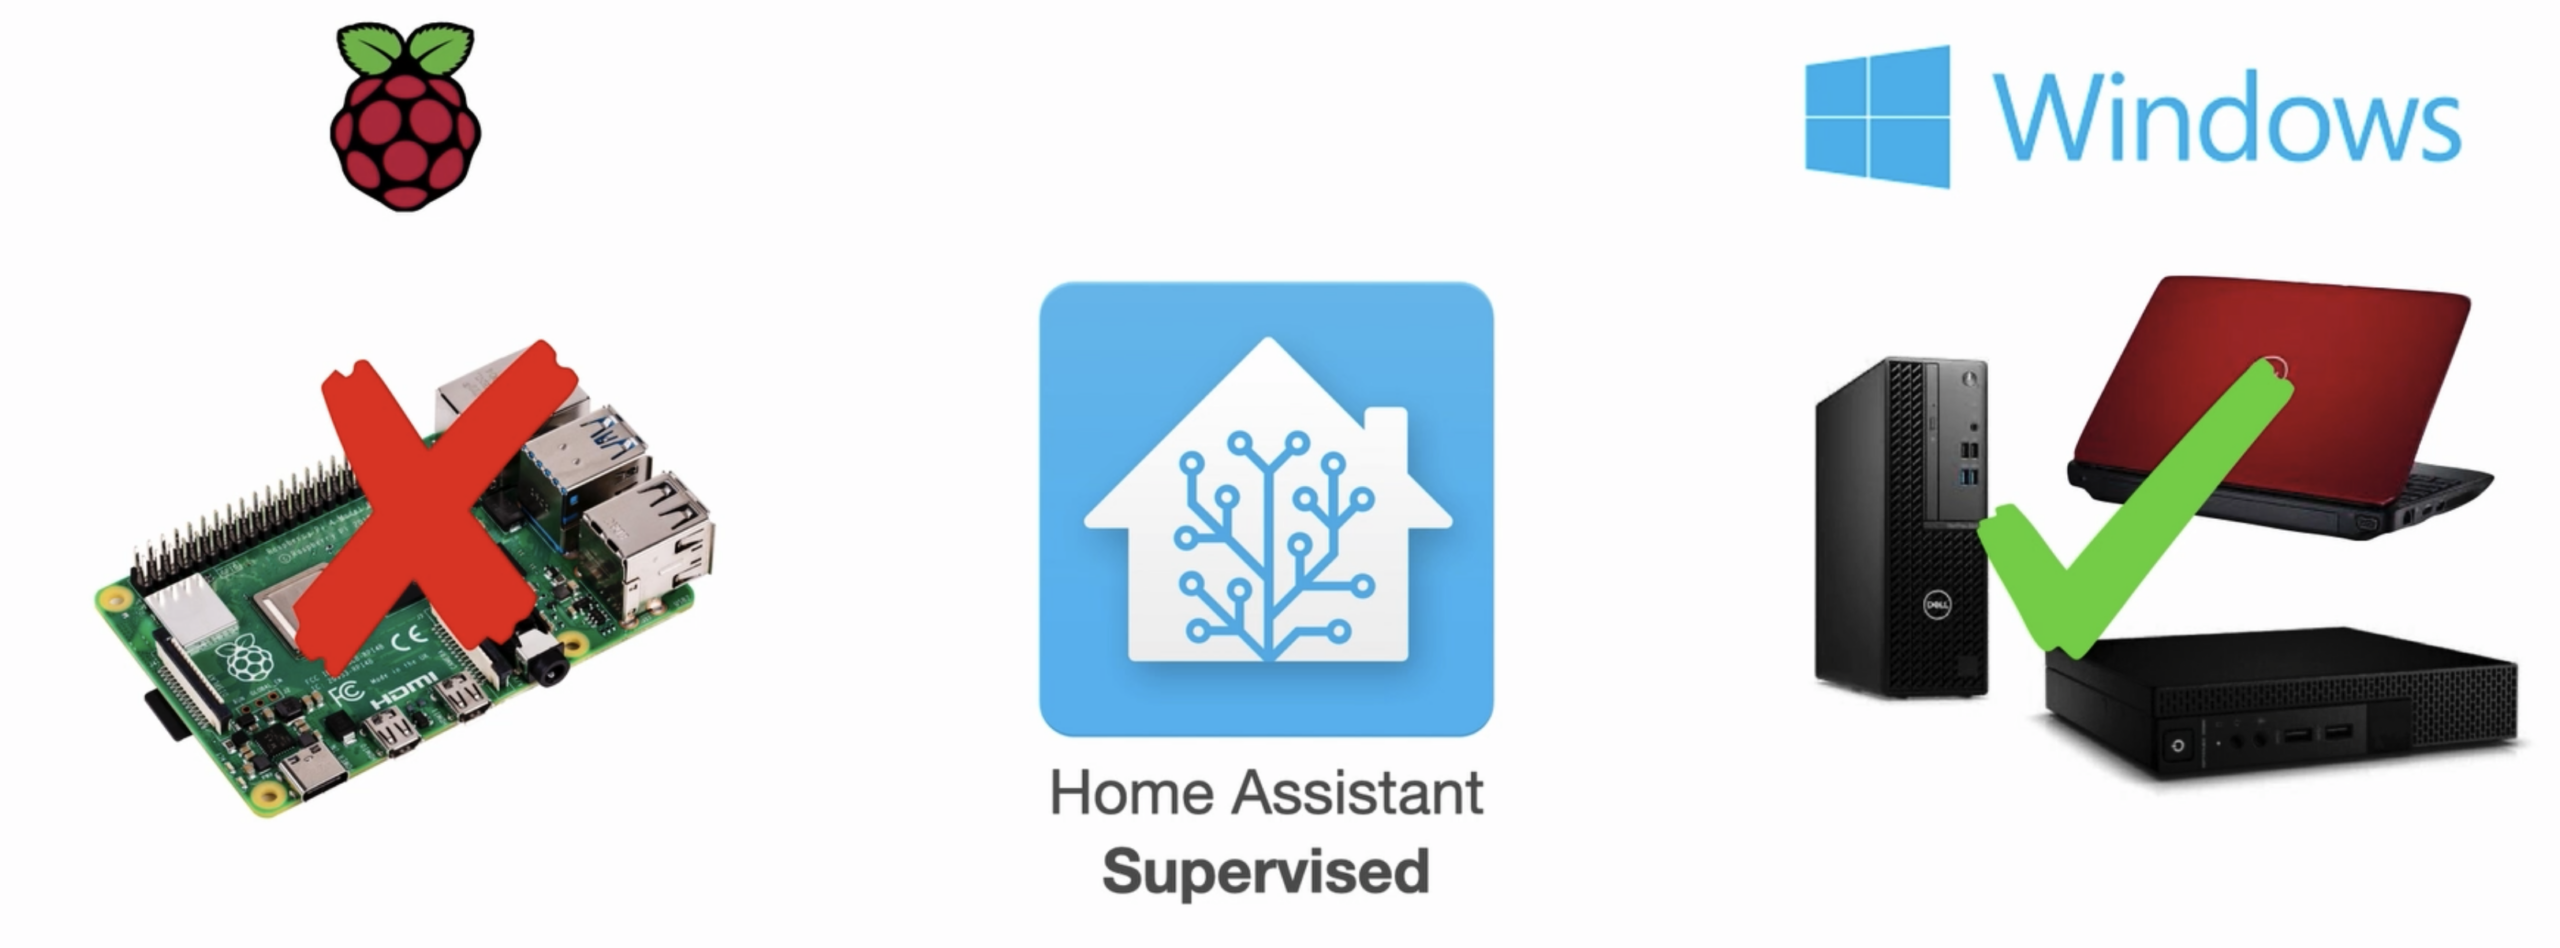
You have been scanning the home assistant forms, trying to find out how you can run home assistant supervised on Windows and have been presented with, is some very unhelpful and abrupt “NO” responses without actually giving you some helpful information.
You just can’t get your hands on a Raspberry Pi 4 to run your Home Assistant supervised installation, but you’ve got some old PC hardware that is gathering dust and now you want to utilise it to run Home Assistant Supervised and are looking for some support.
I often see posts on forums and groups of people asking for help on how to get something working, the responses that are given can be very “elitist”. Only generally pointing somebody in the right direction without actually giving the time to walk somebody through the process of actually doing the thing they have asked. I understand that not everyone has the time to do this but with me being reasonably new to this kind of thing myself I thought I would create my only step-by-step while working it out myself and just hope that others asking the question will find it.
So firstly thank you for being here.
I have made a list of places I got the info from at the end of the post. They all were able to help me figure this out and have a wealth of Knowledge so please after you have completed the guide check them out.
Before we get started this guide is for anybody already running a computer that has installed TrueNas Scale running a standard 64bit Intel or AMD processor. This could be an old tower PC, Mini PC or basically just about any hardware that would generally run Windows.
If you haven’t already installed TrueNas Scale Raid Owl has a great friendly video on how to set up, and basic use of TrueNAS Scale on his Youtube channel. The only thing he doesn’t cover is how to create a USB installer. You can find how to do that here: https://manjaro.site.
Once you have a computer that boots up into TrueNas Scale with Storage setup you can follow this step-by-step guide.
I have also done a video to walk you through the guide:
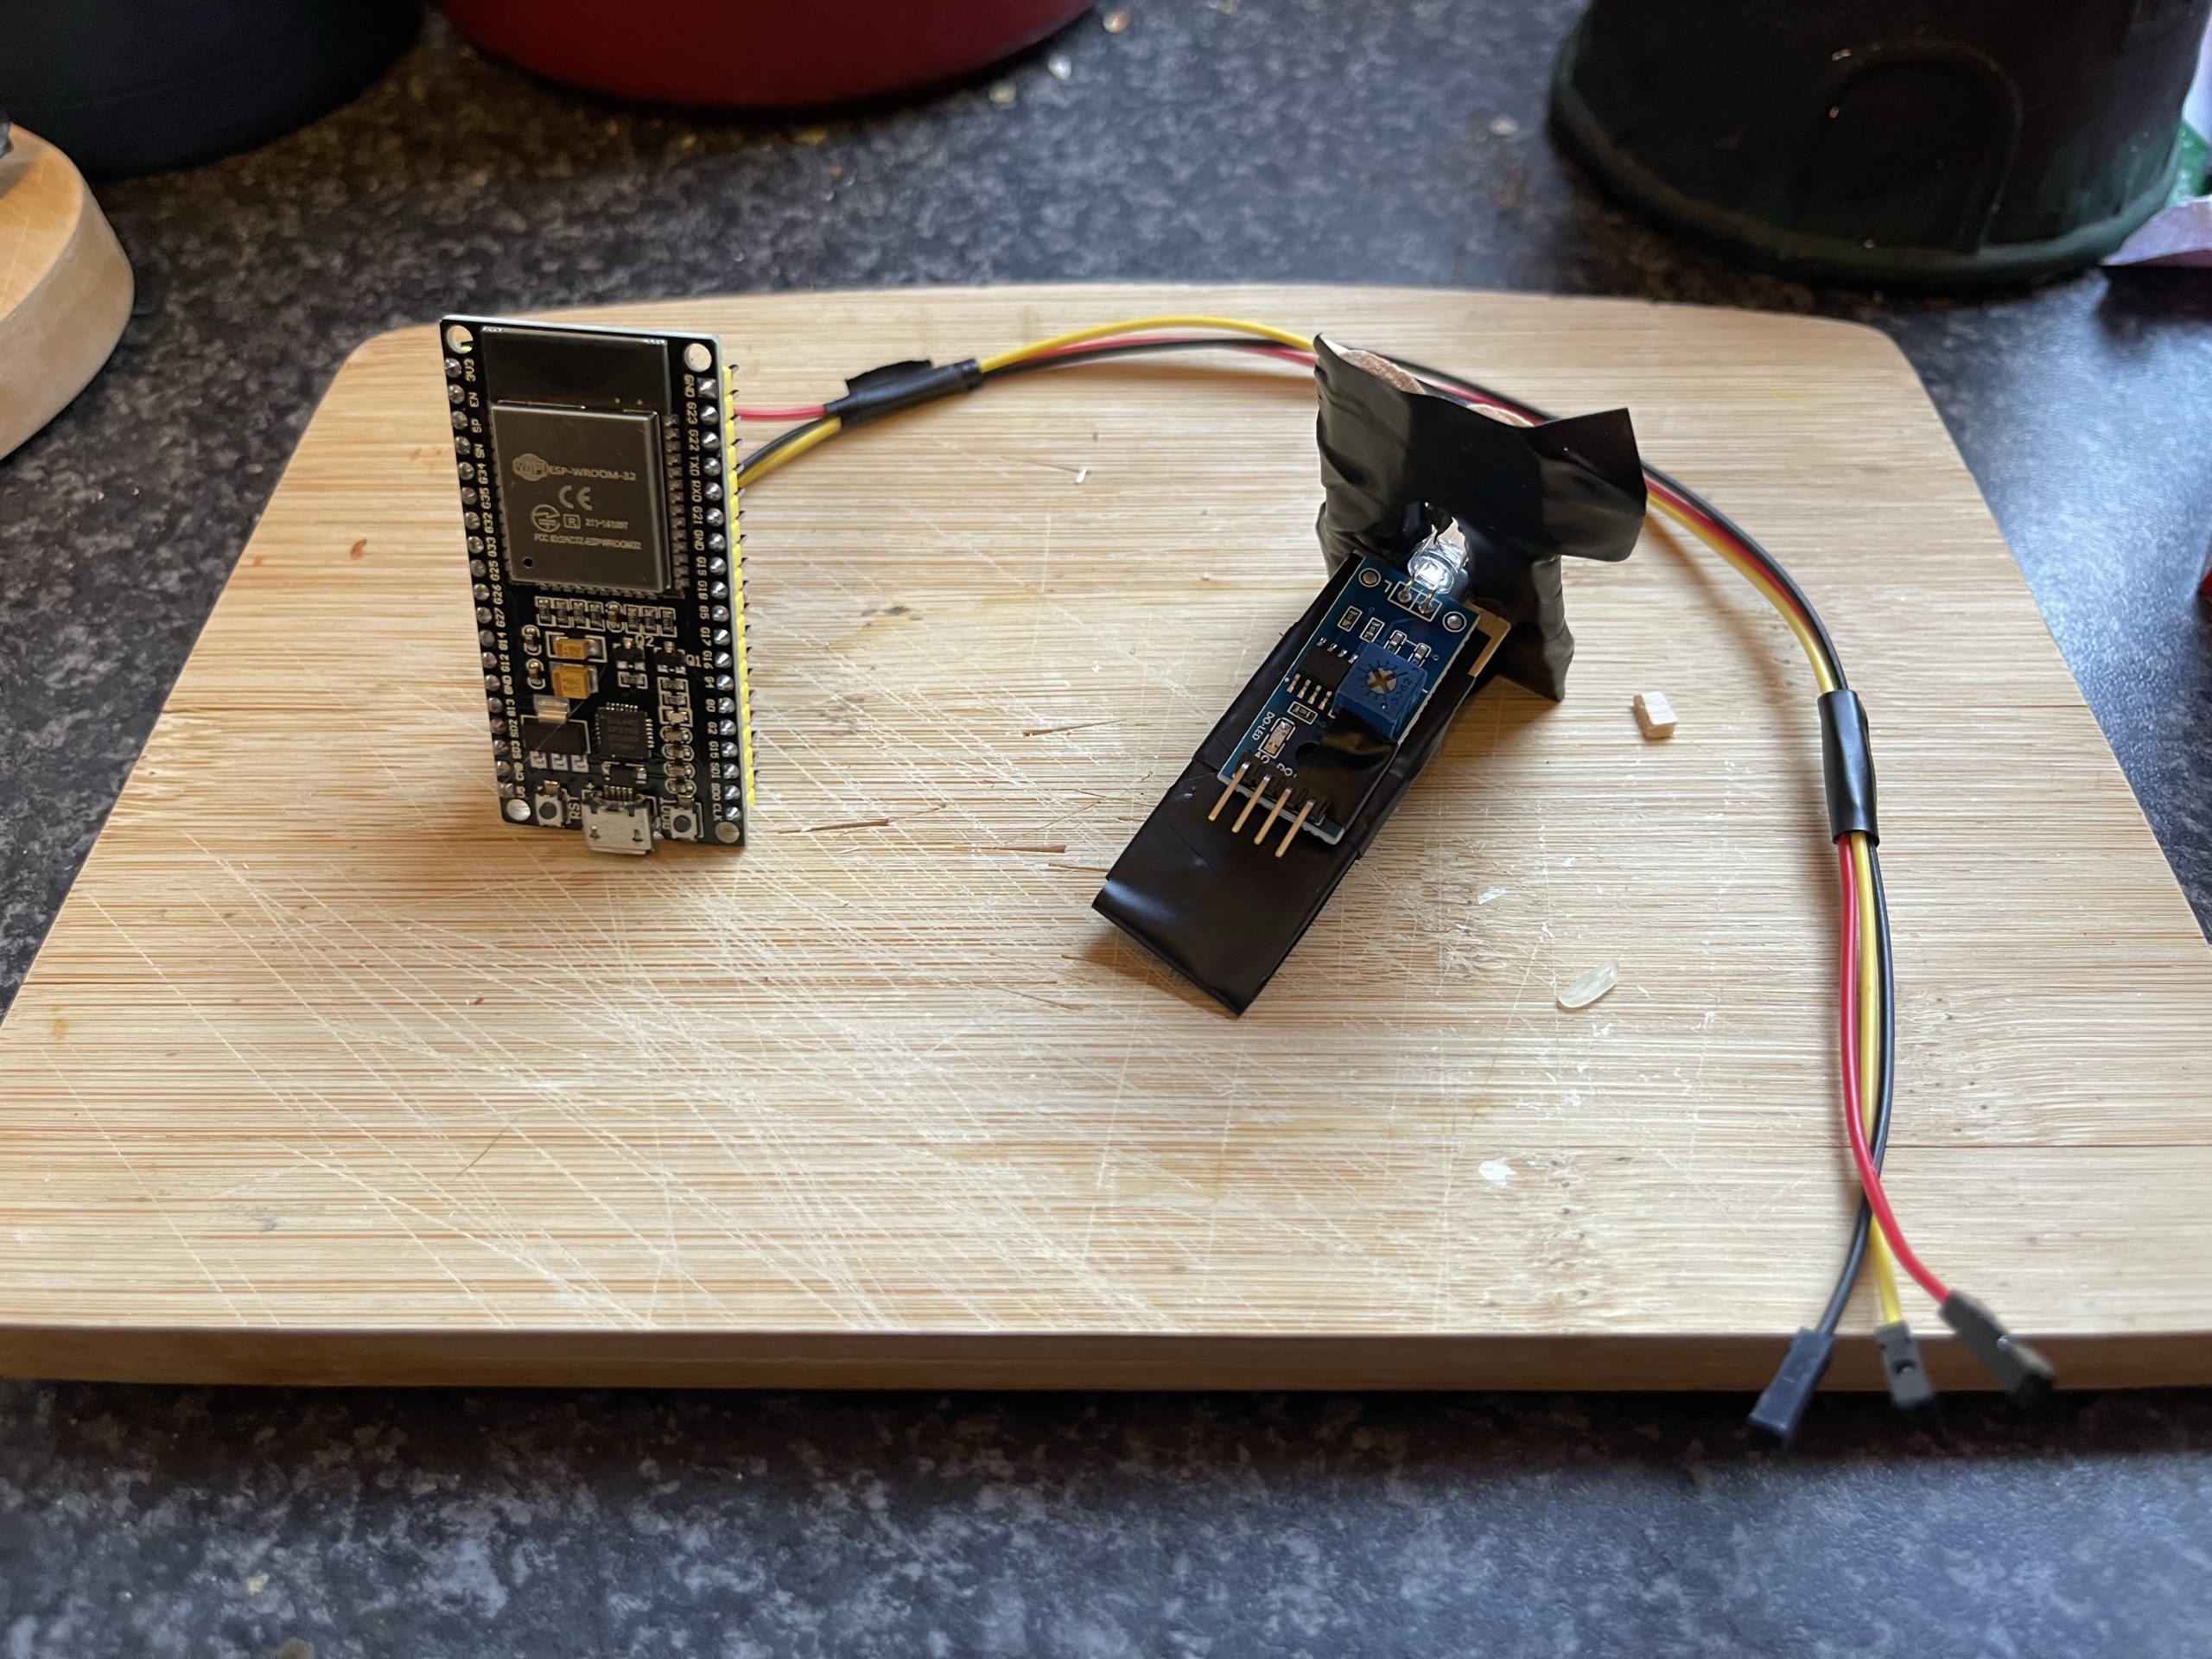
So I just built and installed my first useful and working (well seems to be) Internet of things (IoT) connected bit of electronics.
1. What does it do?
It give me the live electricity use of my whole home. It’s able to show how much I am using now, how much so far for the day/week/month/year. It can give me the exact cost of my electricity broken down into 30 minute segment (or down to 5 minutes if I really need to).
2. How much did it cost?
1 ESP32 microcontroller £8.49
1 x Photosensitive Diode Sensor (for 5) £6.99
1 x Long USB cable that will reach you electric meter (for 2) £3.50
A always on computer running Home Assistant. (More on this another time)
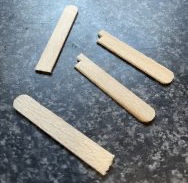
A few lolly stick’s and a bit of electricians tape.
Time (lots of it).
On this point I paid a lot less than this but all the links above are for easy purchase from Amazon with super quick delivery. I had to wait almost 3 weeks for the stuff to arrive from some far away land along with some other stuff I was already getting. I also already had the USB cable and the DuPont cable kicking about.
Total (quick build cost): £27.47
(It cost me around £14 using stuff I had kicking about. I basically just needed a ESP32 and the sensor – if case you were wondering)
3. But why you mad bastard?
Kettle on, Kettle off
Picture the scene.
Your standing in the kitchen and one of your Alternative/Goth children come in to make a cup of hot Buckwheat Tea (it’s a thing) or whatever their hot beverage of choice is. Despite telling them for years to turn them lights off or not waste electricity by filling the kettle to the top; she’s at it again. This time however you can point to the live gauge on your mobile dashboard showing the needle jump from 400w in use to 3,500w in use.
Random Alt Girl
As Lincoln said “Tell me and I forget. Teach me and I remember”
Having a better understanding of what power you are consuming helps you and the people around you have a better understanding of what you can do to make it better by reducing what you use.
Having the details and also the cost of what energy you are using is helpful for planning on reducing use and readying yourself better for your big fat energy crisis bill.
You could basically gain the knowledge need to put the bills on a diet and try and save some pennies.
It’s also pretty cool. If you have an interest in smart home geekery stuff it’s a great little project to get stuck into.
Let me know if you have built your own and how you did.
So I got my order of supplies the other day of 3 ESP32 microcontrollers and an ESP32-Cam and I have to say I am thrilled with the rabbet hole I have just started down.
ESP32-CAM
My first little project was to set up the ESP32-CAM and get it loaded with ESPHome. I then installed a script that streams the video feed picked by a Home Assistant integration. Nice.
ESP32-CAM
The next project, however, is to create an energy meter that records the flashing light on the Gas and Electric meter and reports back to the Home Assistant Energy dashboard to monitor power usage in the home.