Step 6: Boot into Debian via VM
There is a known issue with the Virtulisation BIOS booting into debain on a TrueNAS Scale.
We are going to fix this but for now we need to boot into the Debian OS.
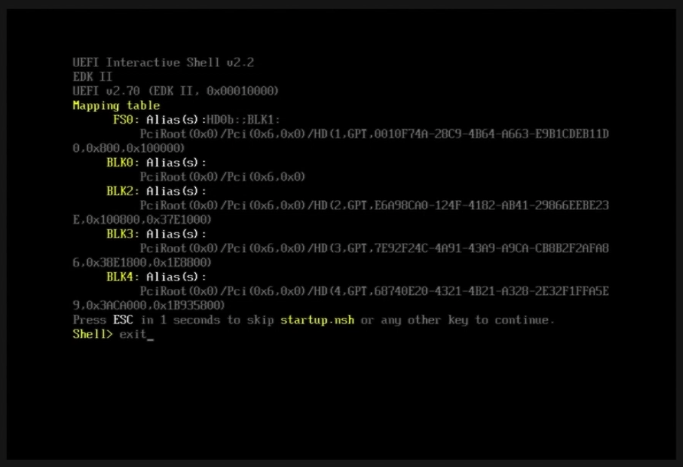
You need to exit the shell and get into the BIOS.

Manually select the correct boot file via the BIOS to start the OS.

Once booted we need to install SUDO to help with future commands.
In the TrueNas Scale Virtulsaztion Dashboard arrow down on your new VM:
Select “Display”.
Once the Shell has opened type: exit
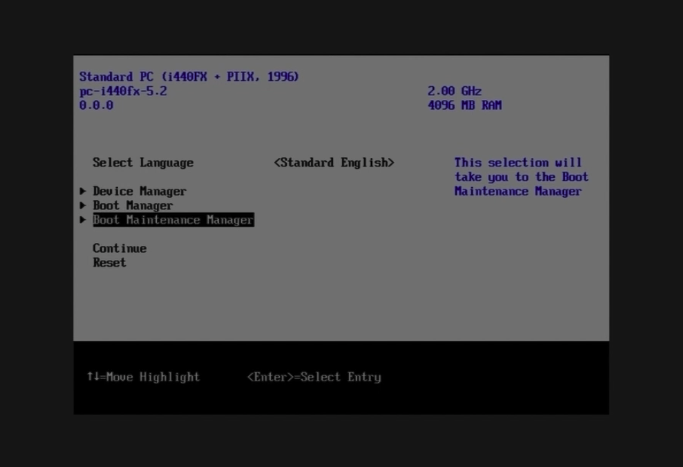
Select: Boot Maintenance Manager
Select: Boot from File
Select the drive: No Volume Label
Select: <EFI>
Select: grubx64.efi
The system will then boot. Log in with your username and password.
Switch to Super User:
su -Install SUDO:
apt install sudoAdd your user name as a sudo user (my user name is smlp you need to change this to your username:
/sbin/adduser smlp sudo
Step 7: SSH into the system
While you are still inside the VM’s terminal display get the IP address of your system.
Next, open at terminal on your computer, terminal on Mac and command prompt on windows (CMD) and SSH into the server using your user name and password.
Still, inside the VM Display terminal get your IP address with the IP command:
ip a
find your IP address from the displayed info. This would normally start with 192.168.1.xxx
Open the Terminal app (MacOS) or Command Proft on Windows (CMD).
Connect to your server with SSH.
Change your username and IP address to match your system. My example is
Username: smlp
ip Address: 192.168.1.100
ssh [email protected]Enter your password and type “yes” to accept fingerprint.
Step 8: Fix the auto-boot issue
Next, we need to update the EFI boot file to the correct name, edit the network interface setting and install network manager.


Make a new directory for EFI Boot:
mkdir -p /boot/efi/EFI/BOOTThen move and rename the boot info to it:
cp /boot/efi/EFI/debian/grubx64.efi /boot/efi/EFI/BOOT/bootx64.efiEdit the network info:
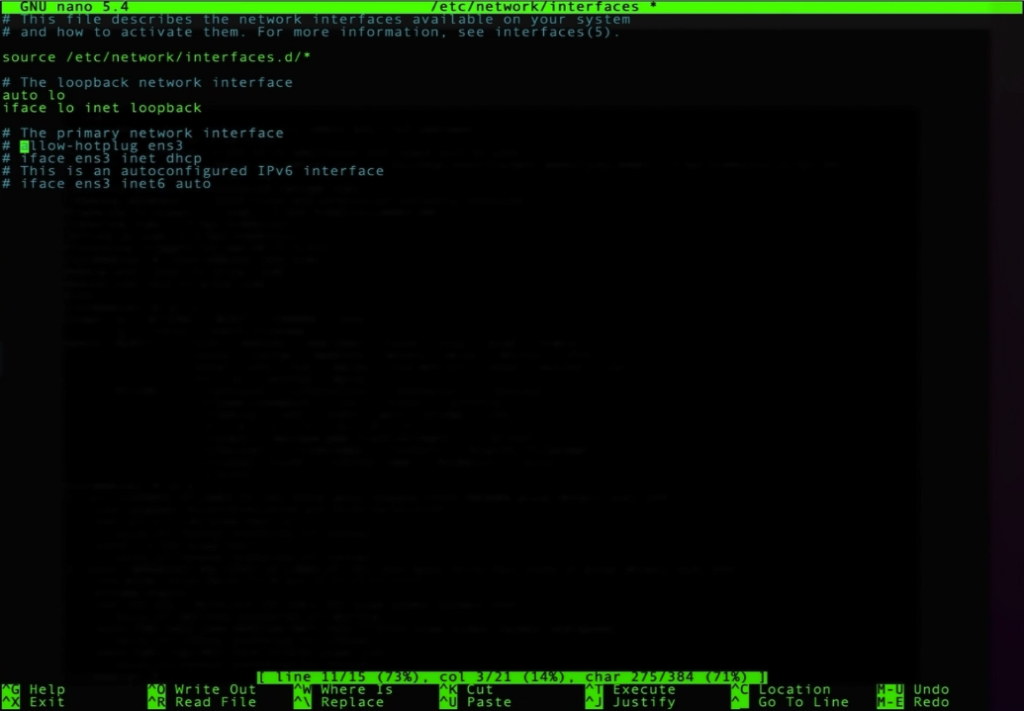
nano /etc/network/interfacesAnd comment out with a “#” what we don’t need it should look like this:

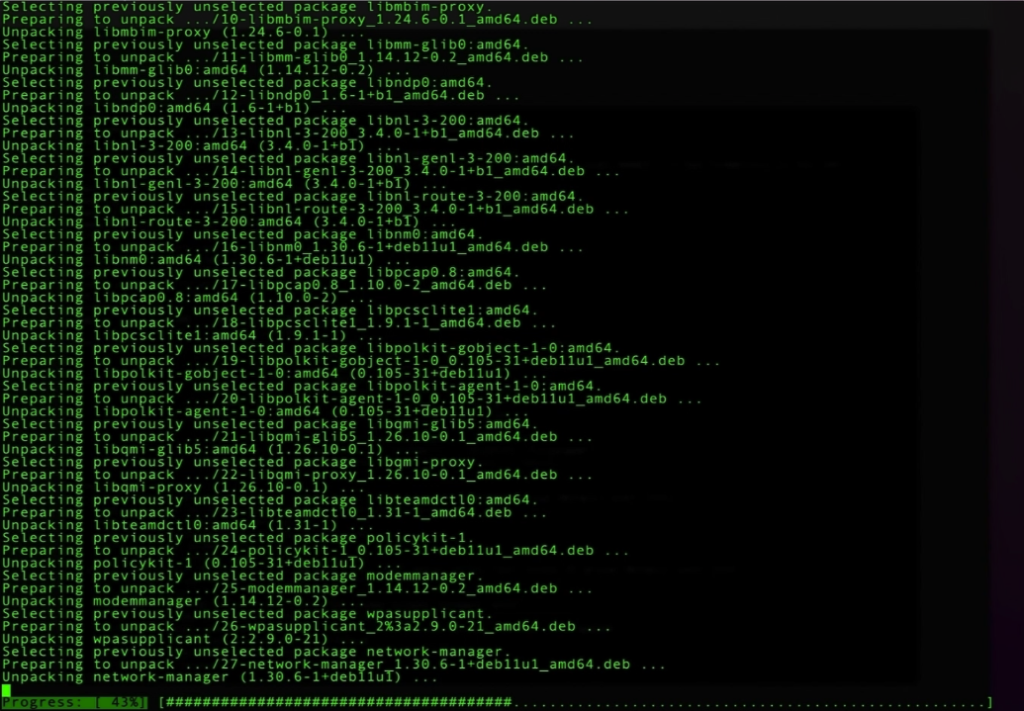
Install Network Manager:
apt install network-managerNow, shut down the system and check it boots to the terminal prompt via the VM Display without intervention.
Next >Step 9
