Step 13: Link your USB Conbee II or Sonoff Zigbee
This step is only needed if you have your own Conbee II/SONOFF Zigbee USB controller.
If you do not have one you can get them via Amazon:
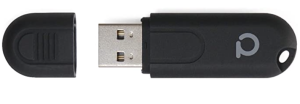
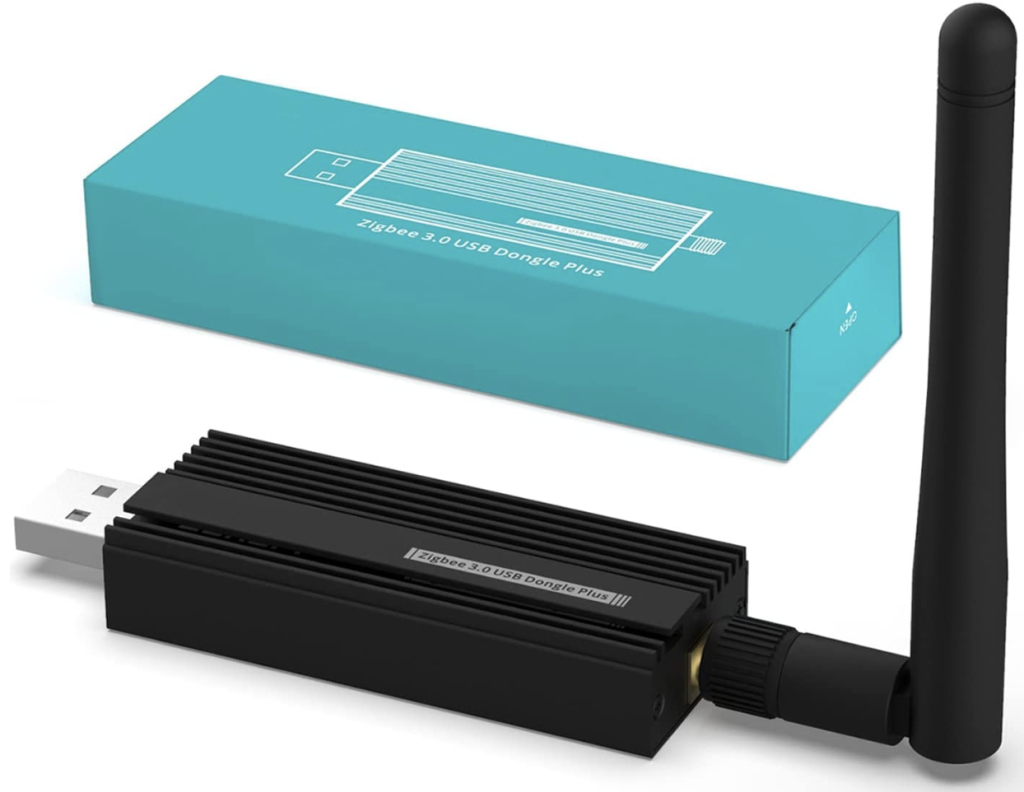
(If you want you can skip to step 14 and do this later)
On the TrueNAS Dashboard go to System Setting then Shell.
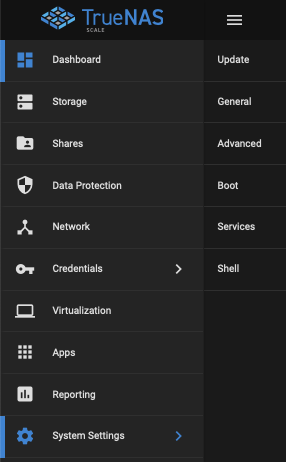
From the Shell command prompt type the command:
lspciThis is a list of the hardware connected to your system.
You will see that you have “USB Controller” listed. You may have a few of these on the list.
To the left of “USB Controller,” you will see a reference, for example, “00:14.0”. Each USB Controller has a different reference.
This corresponds to the USB port (or groups of) on your system. Make a note of the references.
Next, go to the Visualization Dashboard and arrow down on your new VM.
Click Services, then ADD.
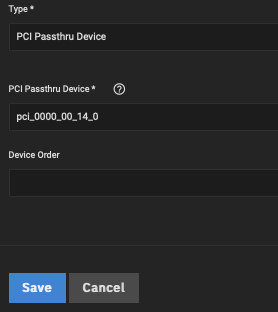
Select PCI passthrough then the “PCI” that matches your first reference number for the PCI Controller.
Connected your Zigbee USB Dongle (or anything you want Home Assistant to “see”) into your system.
Boot into Home Assistant (Step 14) and see if it recognises your USB Zigbee Dongle.
If it’s not recognised repeat this step using a different PCI Reference number. Through the process of elimination, you should be able to find the correct controller for the USB port your Dongle is using.
Remember Only your VM will be able to use the devices connected to that USB Port or Group of USB ports. For example, you could also use an external HDD/SDD drive for storage in TrueNAS Scale if it is connected to the same port.
Step 14: Boot into Home Assistant Supervised
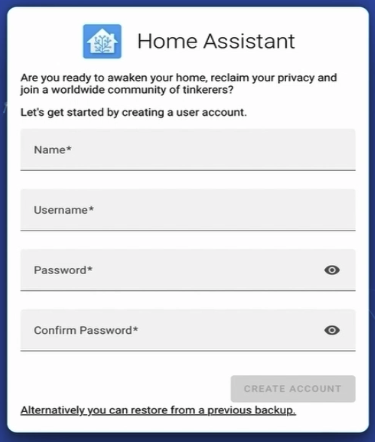
Start your new VM from the TrueNAS dashboard.
Get your IP address from your new system this will be the same IP that you have been using for SSH or open display, login in and run the command:
ip a-If your IP address was 192.168.1.100 open a web browser and open the page:
192.168.1.100:8123
If you get a “Can’t open page” this is just because Home Assistant is still installing in the background. This may take 20 minutes or longer if you are running on slow hardware. Be patient. When you set up page you are done.
Well done you.
I hope this helps and got you up and running without any issues. I would love to hear how you got on and if it was helpful. I’m very open to feedback and if you see anything that could be improved on please let me know. If you did follow along with the video it would be appreciated if you were to drop a like or comment on the video so that it can help more people. If you think this was helpful and worth getting me a coffee you can do that with my Ko-Fi link below, even £1/$1 helps.
Phil GB

- How to create a TrueNAS Bootable USB Stick: https://manjaro.site
- How to install and setup TrueNAS Scale: RAID OWL
- Understand the different versions of Home Assistant: Everything Smart Home
- Fixing the boot issue in Debian: Gateway IT Tutorials
- How to install Home Assistant Supervised on Debian: bzerangue
