Step 1: Download Debian.
When running Home assistant supervised from a virtual machine the best way to do this is to use Debian 11 (Bullseye). Get this from the official site.

Download Debian 11:
Click “download” then click on debian-11.x.x-amd64-netinst.iso to download.
Step 2: Create a VM
Follow the steps to create a new VM.

I have a 4 Core, 8 Thread Processor on I just pick 50% of what I have. Home Assistant is not that “full on” so I guess you can get away with much less than this.
Remember Home Assistant can run on 2GB memory but I personally use 4GB. Also, I use 250GB of Storage however you can get away with less than this. Just pick what you’re happy with and remember you can’t change this later or more is better.
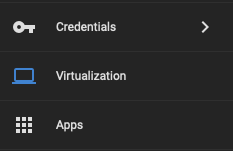
Click “Virtualization” on the navigation bar.
Click “Add”.
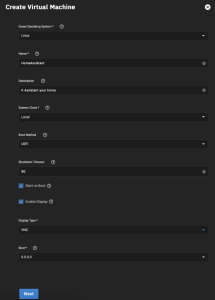
My settings are as follows:
- Guest Operating System: Linux
- Name: HomeAssistant
- Description: It Assistant your home
- System Clock: Local
- Boot Method: UEFI
- Shutdown Timeout: 90
- Start on Boot: TICK
- Enable Display: TICK
- Display Type: VNC
- Bind: 0.0.0.0
Click “Next”.
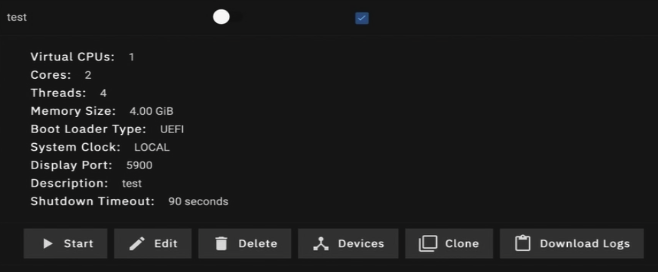
- Virtual CPUs: 1
- Cores: 2
- Threads: 4
- CPU Mode: Host Passthrough
- Memory Size: 4 GiB
“NEXT”.
- Create new disk image: TICK
- Use Exising disk image: UNTICK
- Select Disk Type: Virtl0
- Zvol Location: Pick your own
- Size: 250 GiB
“NEXT”.
- Adaptor Type: Virtl0
- Mac Address: Keep as is
- Attach NIC: Just pick one
“Next”.
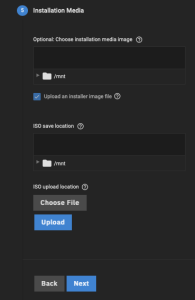
For installation Media click the upload an installer image file then select “Choose File”.
Find and pick the Debian.iso file you download in Step 1.
Click “Upload” and once done Click “Next”.
You don’t need a GPU but if you have one and want to use it pick one, but I see no benefit in doing this.
“Next”.
“Save”.
Step 3: Install Debian
The next step is the install Debian from the display of your new VM.
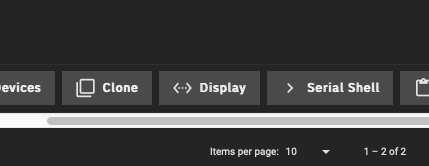
When you first click on display you may need to allow the new pop-up windows to open as most web browsers will block it by default.
My guess is that if you are here following this guide you have played around with installing Linux before so just default on almost every setting.
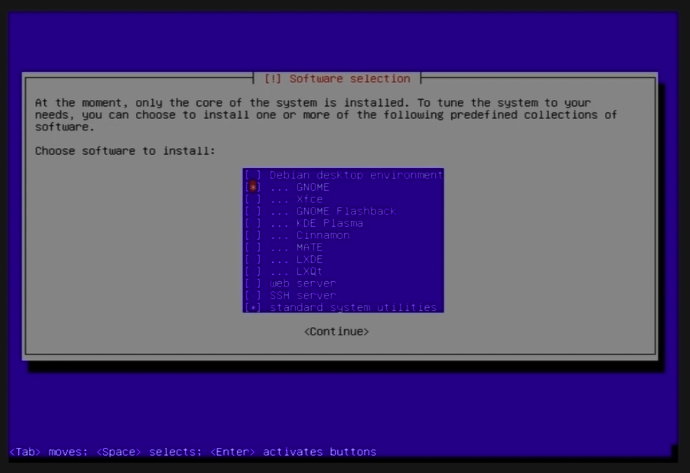
On the additional software, page remove “Debian Desktop Environment” and “GNOME” as you don’t need them.
You do need to make sure you have selected SSH Server to allow you to easily remote access your new VM later.
Click on the down arrow to expand the setting for the new VM.
Click on “Start”.
Click on “Display”
(Allow pop-up window)
You can now control the installation process via the web browser.
Follow the install process with all default settings.
On Addionasl Software:
- Remove: Debian Desktop Environment
- Remove: “GNOME”
- Add: “SSH Server”
Step 4: Reboot the system
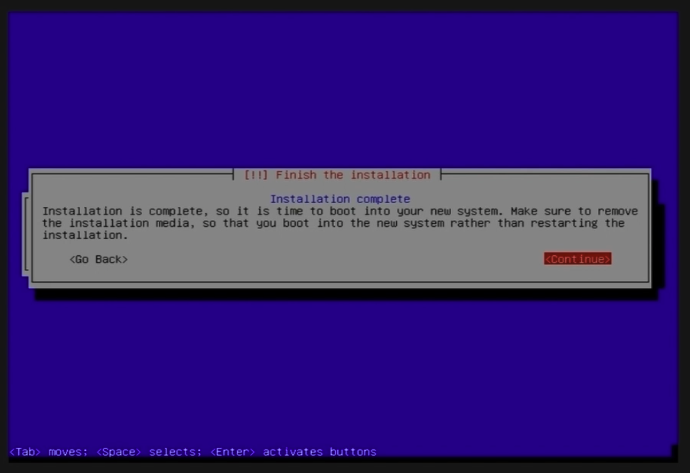
When you see the prompt on the VM display that the installation is complete you need to reboot the system.
The easiest way to do this is from the TrueNAS Scale dashboard and click on “Power Off”.
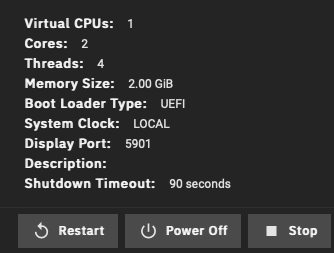
In the TrueNas Scale Virtulsaztion Dashboard arrow down on your new VM and select:
“Power Off”
Step 5: Remove the Install “cd-rom” install media
We need to now remove the “cd-rom” from the VM otherwise it will loop back to the install Debian Process.

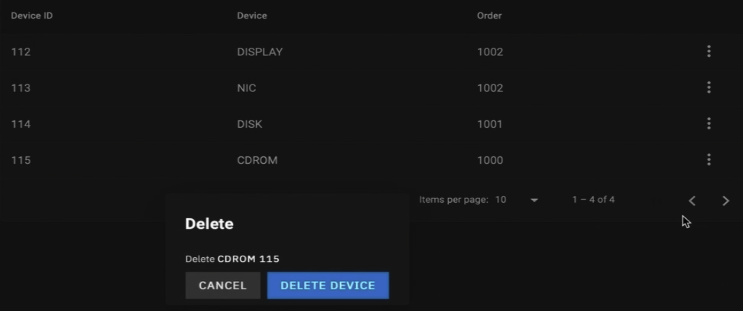
Go into Devices, find the “Cd-Rom” and delete it from the devices list.
In the TrueNas Scale Virtulsaztion Dashboard arrow down on your new VM and select:
Select “Devices”
Find the “CDROM” in the list
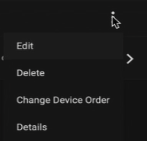
Click on the 3 dots to the right
Select “Delete” from the pull-down menu.
Confirm the Delete by clicking on “Delete Device”.
Next >Step 6
